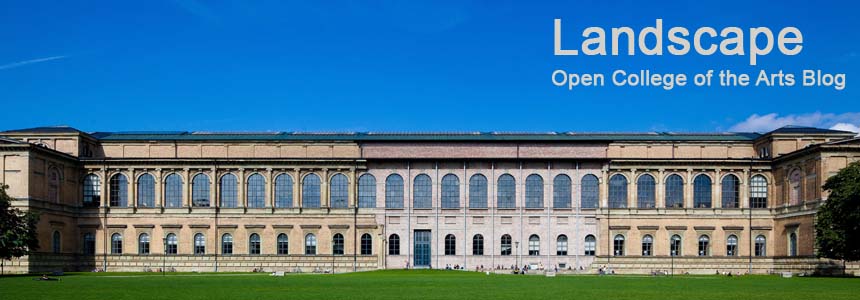
For the exercise I have selected one of the shots taken for my portfolio, but as yet rejected:
This image is very typical of a RAW file just after import into Lightroom, it is rather flat and dull. The fact that I was shooting into a bright sky means that the foreground is a little darker than I want it to be. However, the Histogram for the shot is pretty well distributed with no loss of detail. This is a photo that with work should be capable of brushing up nicely.
My first job is to adjust the exposure and shadows to brighten the foreground, whilst trying to keep the sky under control using the Highlights and Whites sliders. I have also added in some Contrast, Clarity, and Vibrance to add some "pop" to the image.
At this point I have an acceptable photograph with a rather nice softly pastel sky, however, what if I want to darken that sky and make the photo more dramatic. Here is where the new tools in Lightroom 4 come into play. I can now use the adjustment brush to paint in a mask and then effectively process the masked area separately to the rest of the photo. Painting the mask is a fiddly job, but with the ability to add and subtract, plus a useful "Auto Mask" function this is not too onerous. I guess I spent about 15-20 minutes on this one. Using this tool does have a pretty major effect on my computer, it very noticeably chews up processing power - my machine is 2 years old, has a Quad core i7 CPU and 8GB of RAM, so no slowcoach.
With the mask applied I then adjusted the exposure, but no other tools:
-0.5eV
-1.0eV
-1.5eV
-2.0eV
The effect is pretty strong beyond -1eV and halo'ing around the buildings is becoming an issue, although another go over with a vert delicate brush might fix that. At -1eV I think I have a good balance of colour in the sky with the foreground, beyond that (ignoring the halo'ing) the effect becomes rather surreal. For some applications this might work, but not for this one.
BUT, this is a lot of work for a fairly simple adjustment, one that can be done pretty easily with the application of a grad filter to the image. In the following I have placed a grad filter over the top 2/3 of the image and applied -1eV.
Frankly, I find this more convincing, the gradual application of the filter from -1eV at the top of the photo to 0 just below the tree line provides a more convincingly real image, completely avoiding any issue with halos. It also took roughly a minute to apply versus 30 for the burn tool. I can see places where the burn tool is going to be useful, when a tall building penetrates a sky and you cannot really use a grad tool. However, for most landscape photography the grad tool is easier and produces better results.


No comments:
Post a Comment